Price Calculator App – User Guide
This guide will help you set up measurement-based pricing, define price ranges, and apply rules to your products.
Step 1: Customize Calculator
In this step, you define how product pricing will be calculated based on measurements.
Access Settings
- Open your Shopify Admin
- Go to Apps → Price Calculator App
- Open Measurement Settings
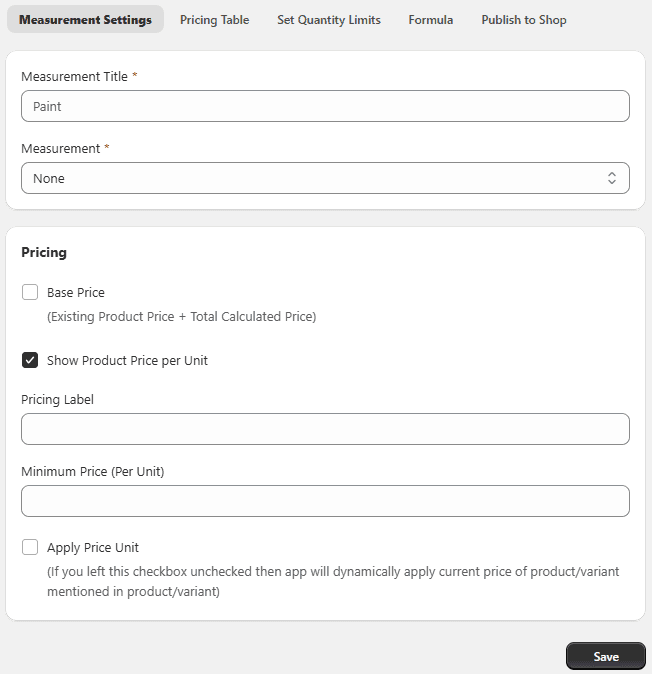
Measurement Setting
- Measurement Title: Enter a name for your pricing rule.
- Measurement Type: Choose how pricing will be calculated: Weight, Area. Length, Volume, Box Tiles, Rolls, Area (L × W), Volume (L × W × H), Room Walls, Linear Measurement (L + W),
Note: Additional fields will appear based on your selected measurement type.
Pricing:
-
Base Price: Enable to combine:
- Existing product price
- Calculated measurement price
-
Show Product Price Per Unit: Enable to display price per unit on the product page.
-
Pricing Label: Add a custom label to replace the product price display.
-
Minimum / Maximum Price (Per Unit): Set pricing limits per unit.
-
Apply Unit Price: If disabled, the app will use the product’s default price automatically.
-
Measurement Inputs: (Example: Volume L × W × H)
-
Output Unit: Select output unit (e.g., Cubic Yard)
-
Length Settings Label (e.g., Length), Unit (e.g., Yard), Min / Max values, Width Settings, Height Settings,
Status: Enable the rule to activate it.
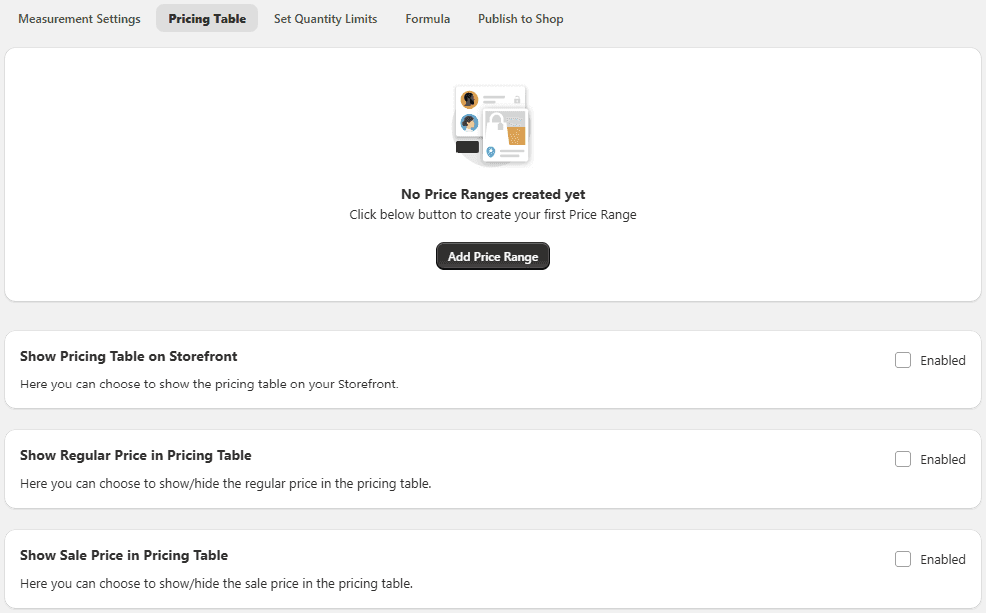
Step 2: Configure Pricing Table
Define pricing based on measurement ranges.
Steps: Go to Pricing Table Click Add Price Range
Pricing Table Settings
- Start Range – Beginning measurement value
- End Range – Ending measurement value
- Regular Price (Per Unit) – Standard price
- Sale Price (Per Unit) – Discounted price (optional)
- Status – Enable/Disable the price range You can create multiple ranges for flexible pricing.
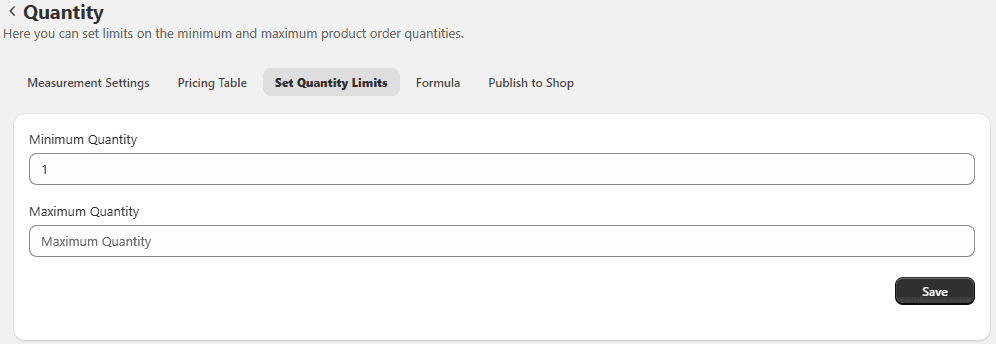
Step 3: Set Quantity Limits
Define purchase quantity limits:
- Minimum Quantity – Required minimum purchase
- Maximum Quantity – Maximum allowed purchase
Rules will only apply if the quantity falls within this range.
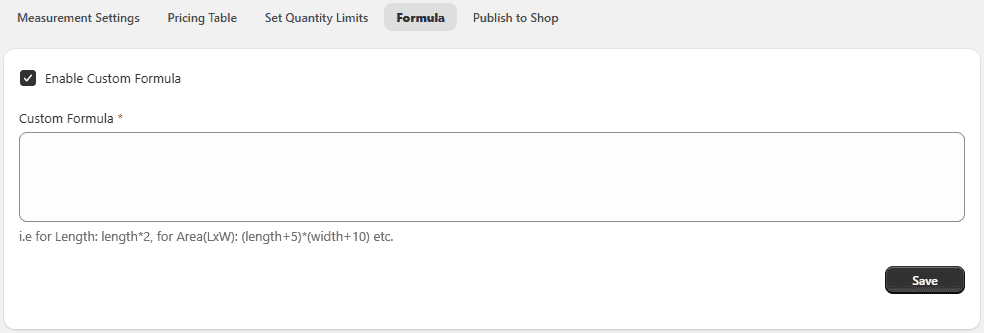
Step 4: Use Custom Formula (Optional)
Create advanced pricing calculations.
Settings:
- Enable Custom Formula – Turn ON to use custom logic
- Custom Formula – Enter formula (e.g., Volume + 2)
This allows you to fully customize how pricing is calculated.
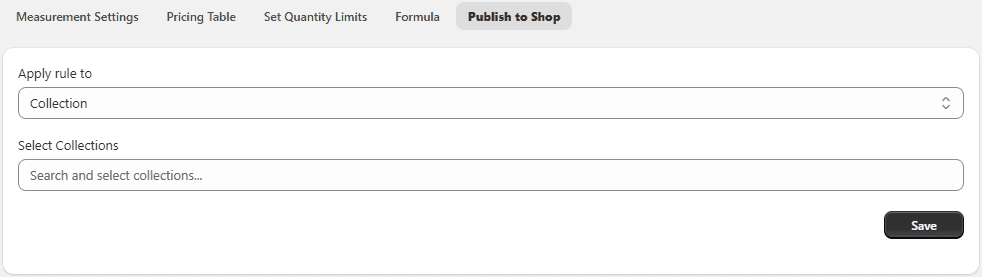
Publish to Store
Apply the pricing rule to your storefront.
Select Products or Collections
- Products – Apply rule to specific products
- Collections – Apply rule to selected collections
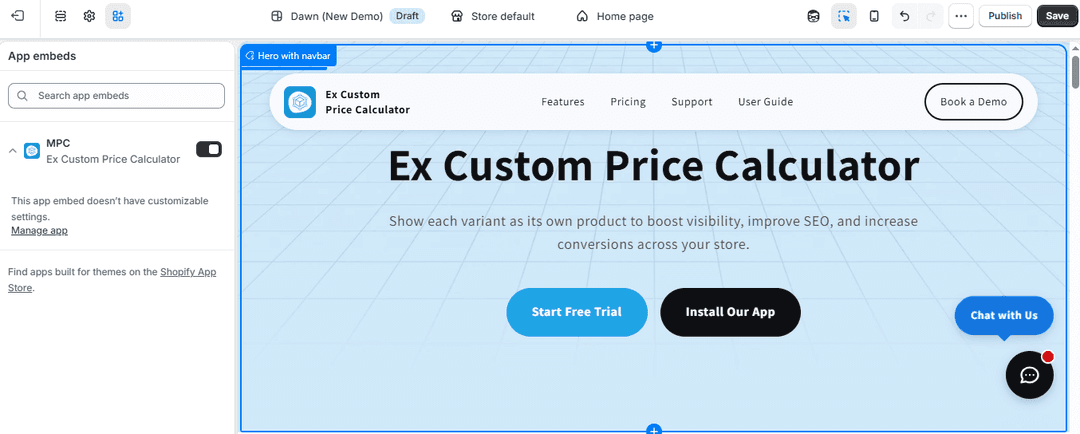
Step 5: Enable App Embed (For Shopify 2.0)
- Go to Online Store → Themes
- Click Customize
- Open Theme Settings → App Embeds
- Enable the app
- Click Save
Note: Only enable this option for Shopify 2.0 themes.
Setup Complete
You have successfully:
- Configured measurement-based pricing
- Created pricing ranges
- Set quantity limits
- Applied custom formulas
- Published rules to your store
Your store can now calculate prices dynamically based on customer input and product measurements.