Product Tag Images App – User Guide
This guide will help you configure page settings, upload tag icons, and activate the app on your Shopify store.
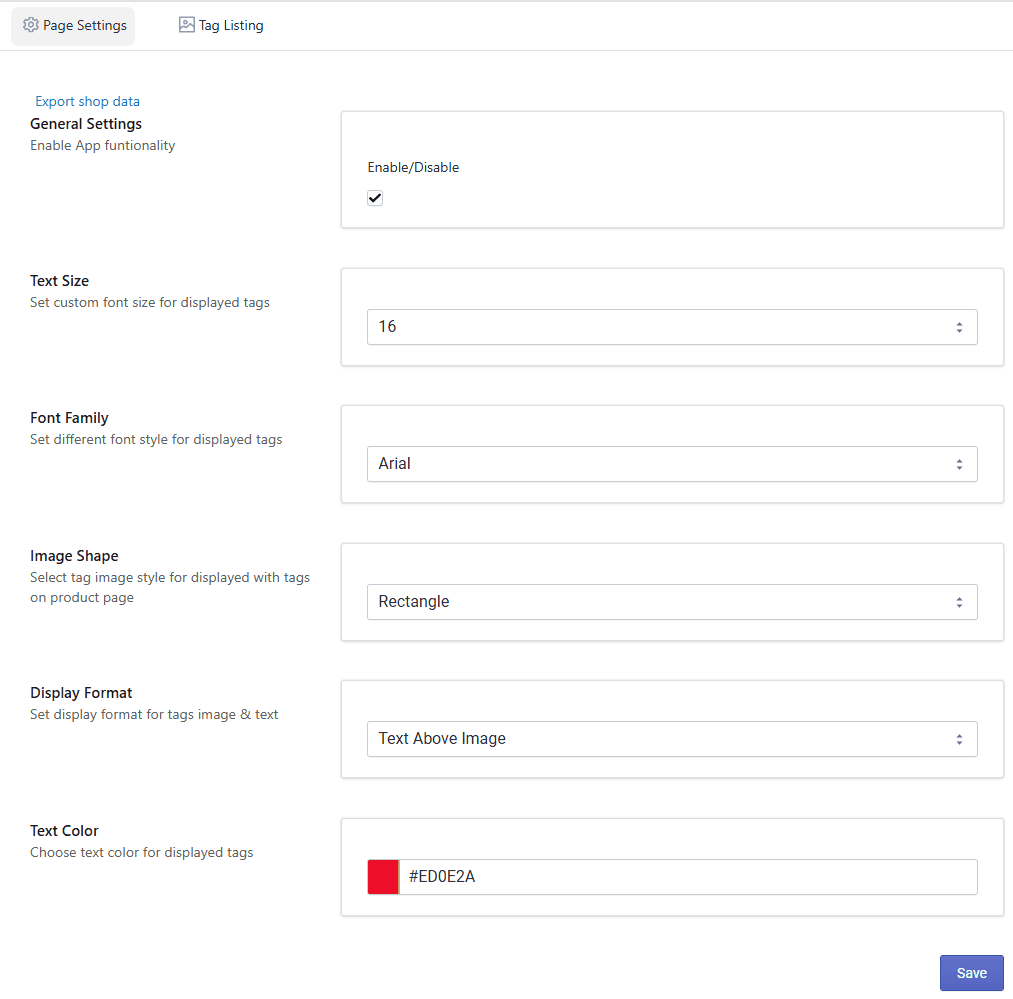
Step 1: Configure Page Settings
In this step, you can enable the app and customize how tag icons appear on your store.
Access Settings
- Open your Shopify Admin.
- Go to Apps.
- Select the Product Tags Icons App.
- Click on App Configuration.
Enable App
Turn ON to activate the app functionality on your store.
Customize Font, Text & Colors You can customize the appearance of tag icons:
- Text color
- Background colors
- Icon/image shapes
- Display format
This helps match the tags with your store design.
Upload Tags Image Upload icons/images for your product tags.
- Assign icons to specific tags
- Icons will be displayed on selected products
Save Settings After making changes, click Save to apply them.
Step 2: Upload Tag Images
You can upload and manage tag icons from the dedicated section.
Steps:
- Go to the Upload Image tab.
- Upload icons/images for your tags.
- Assign them to selected tags or products.
- Save your changes.
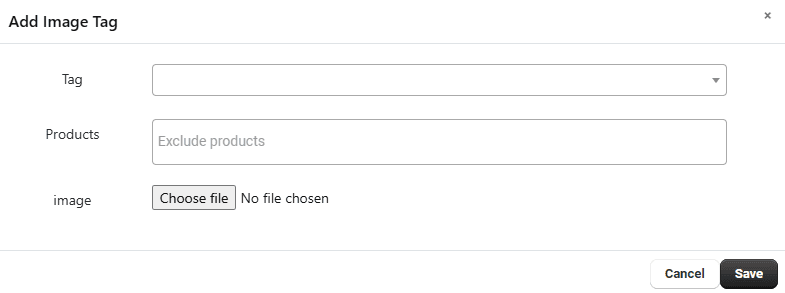
These icons will appear on the storefront based on your settings.
Step 3: Enable App Embed (For Shopify 2.0)
To display tag icons on your store, you need to enable the app in your theme.
Steps:
- Go to Shopify Admin.
- Navigate to Online Store → Themes.
- Click Customize.
- Open Theme Settings → App Embeds.
- Find the Product Tags Icons App.
- Toggle Enable App Embed ON.
- Click Save.
 '
'
Note: If you are not using a Shopify 2.0 theme, do not enable this option.
Setup Complete
You have successfully:
- Configured tag display settings
- Uploaded and assigned tag icons
- Enabled the app on your theme
Your product tags will now appear with customized icons, improving product visibility and user experience.